Details
-
 Hike type
Ferrata
-
 Difficulty
EEA
-
 Distance
13.89 KM
-
 Altitude MIN
1305.00 mt
-
 Altitude drop +
1450 mt
-
 Parking
-
 Landscape

-
 History

-
 Duration
13h
-
 Altitude MAX
2755.00 mt
-
 Altitude drop -
-1450 mt
-
Hike type
Ferrata
-
Difficulty
EEA
-
Distance
13.89 KM
-
Altitude MIN
1305.00 mt
-
Altitude MAX
2755.00 mt
-
Altitude drop +
1450 mt
-
Altitude drop -
-1450 mt
-
Duration
13h
-
Landscape
-
History
-
Parking


It's dawn at the Duran Pass, between the Zoldo Valley and the Agordino region. A faint fog obscures the asphalt and highlights the green of the surrounding forest, while Pelmo and Antelao stand out with their well-defined outlines in the faint dawn.
Today's adventure will unfold on the Moiazza, via the daring Gianni Costantini via ferrata, considered the most beautiful, longest, and most difficult via ferrata in the Dolomites!
Accompanying me on today's adventure is Marco, a companion on the exploration of Mount Rudo (Rautkofel), a route no longer accessible due to recent landslides. Here's the full report!
After parking the car at the pass, we get fully equipped. The temperature is 13 degrees Celsius, but it will surely rise very soon. We set off just after 6:00 a.m., with the sun shining brightly on the walls of Sass del Duram. We take CAI trail 549 behind the Tomè refuge, initially heading northwest on a trail, then turning sharply west on a dirt road. This leads to the Bruto Carestiato refuge, but at around 1,800 meters, at a left-hand bend, we enter a clear trail that winds through the undergrowth, bypassing the refuge and arriving directly at the start of the via ferrata. Pay attention in the forest and choose the left fork to find yourself right at the start of the via ferrata at 1,850 meters, 45 minutes from the start.
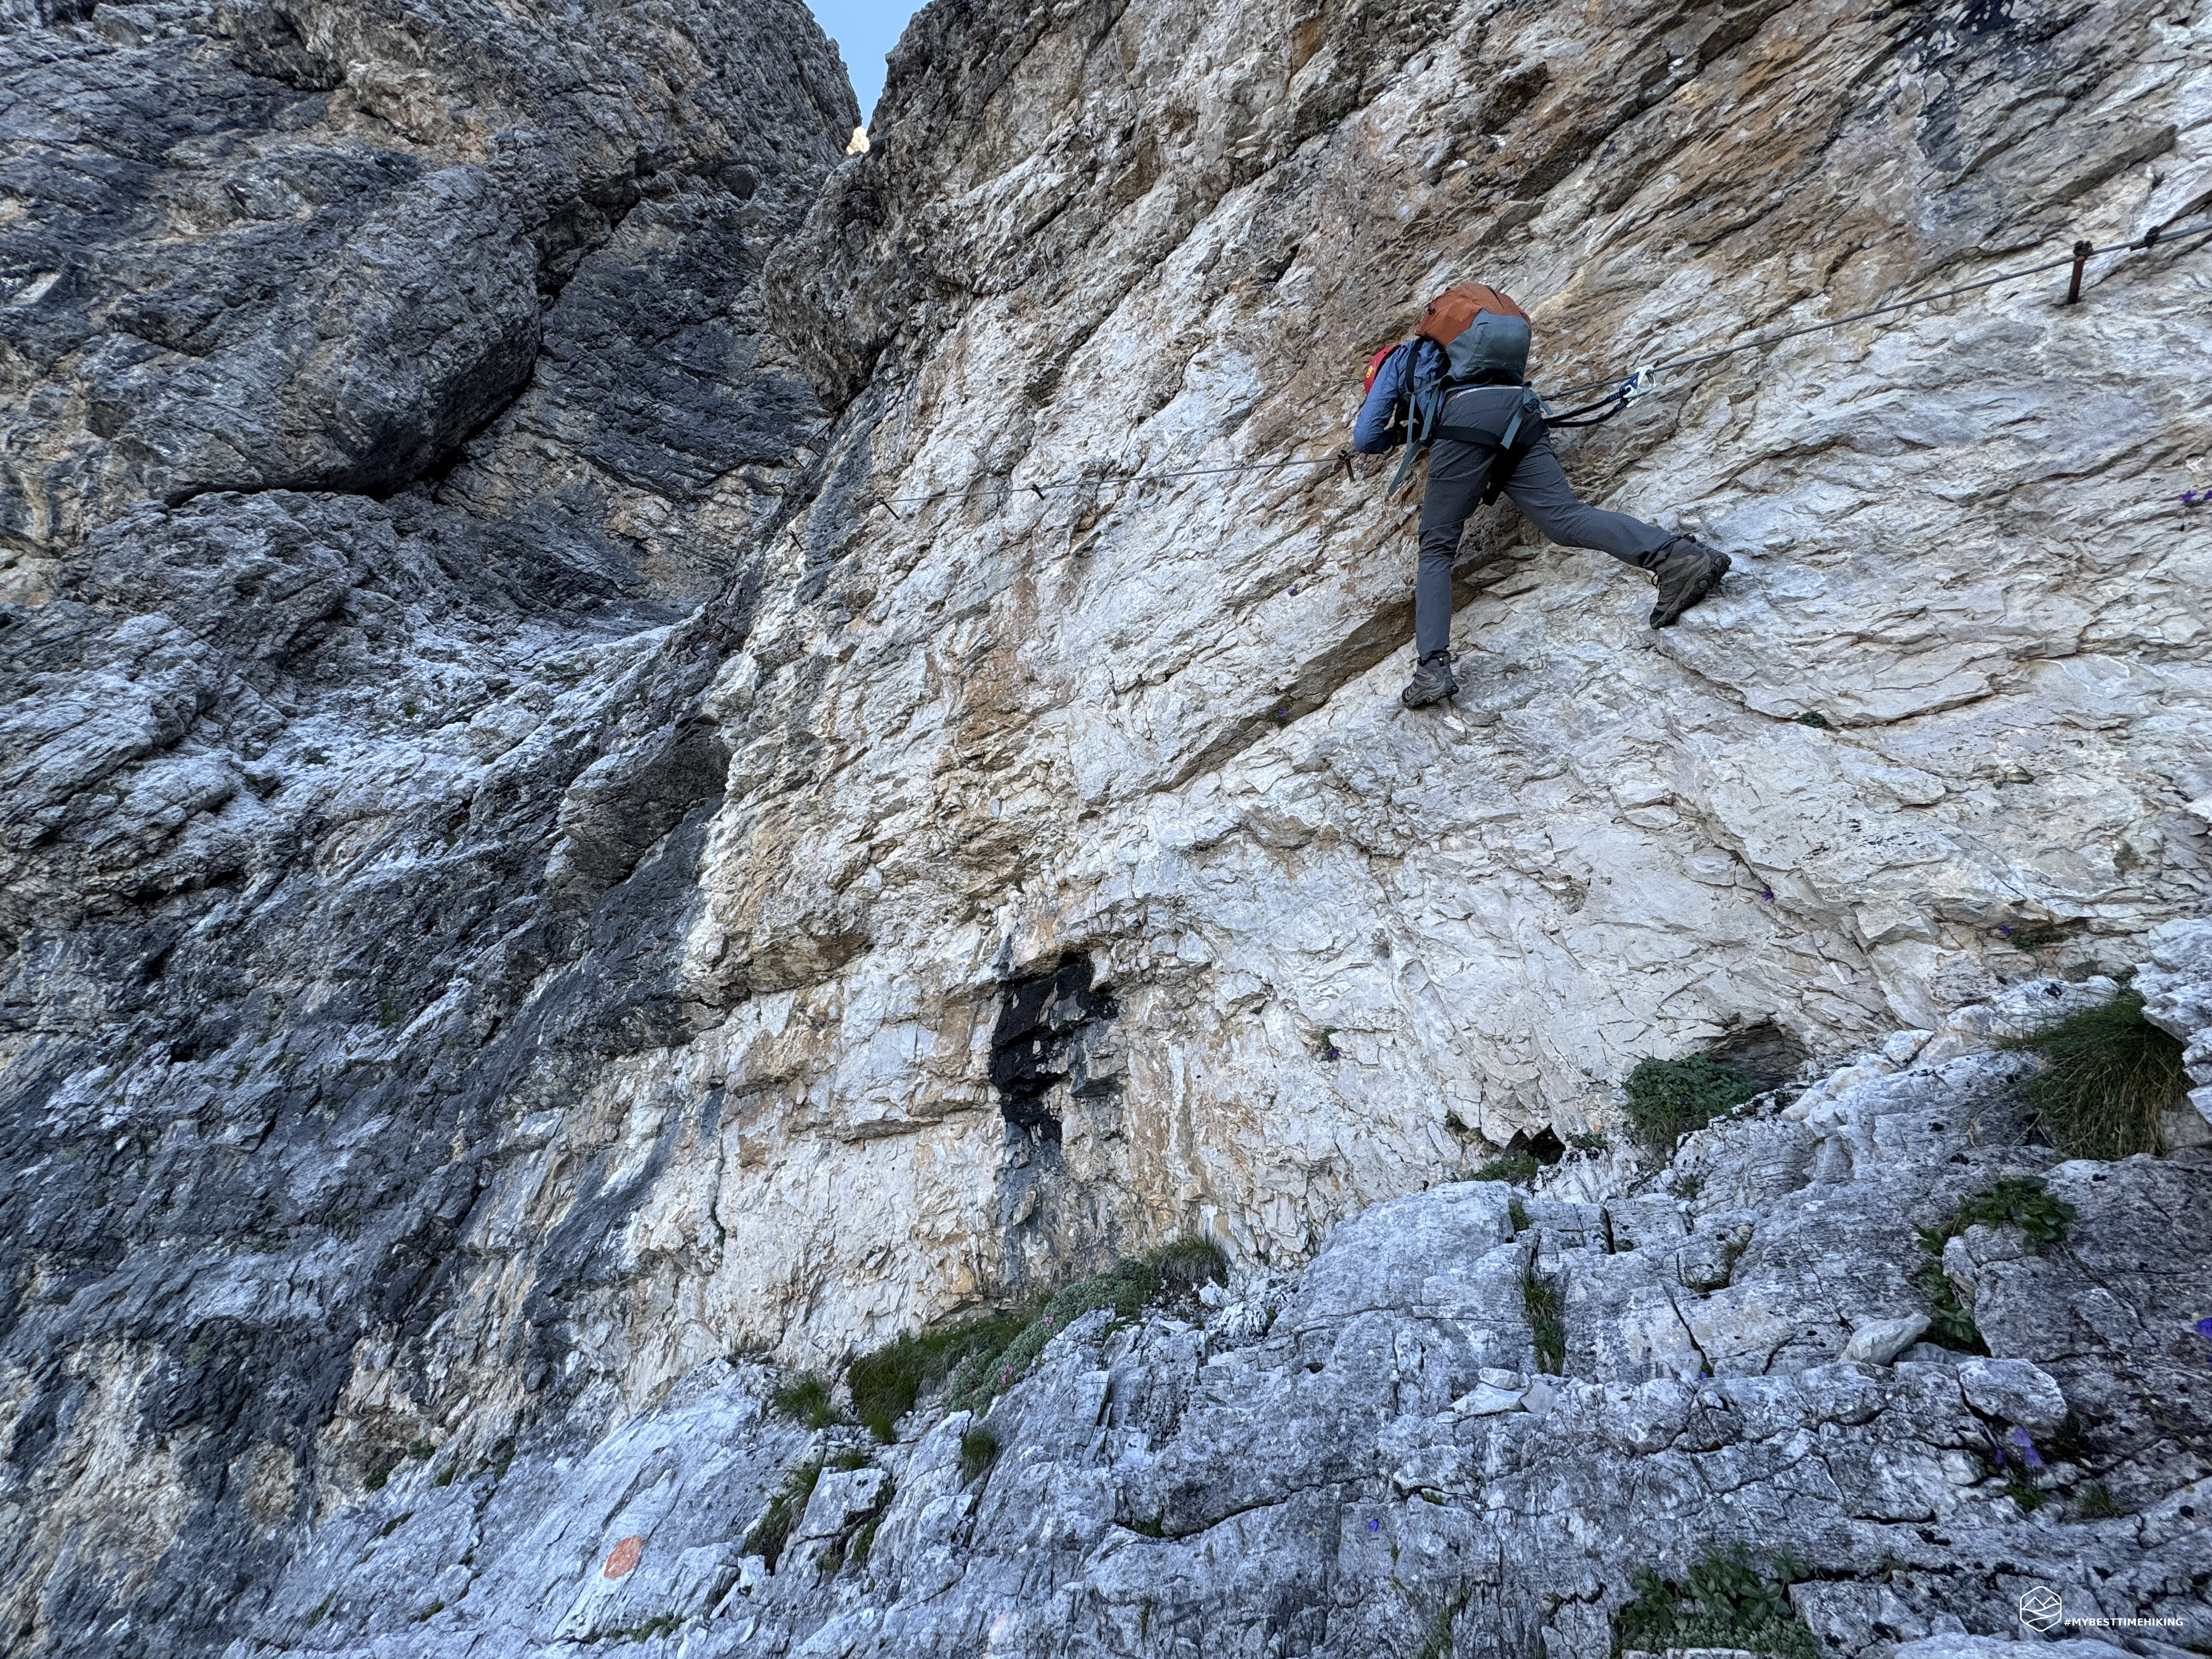
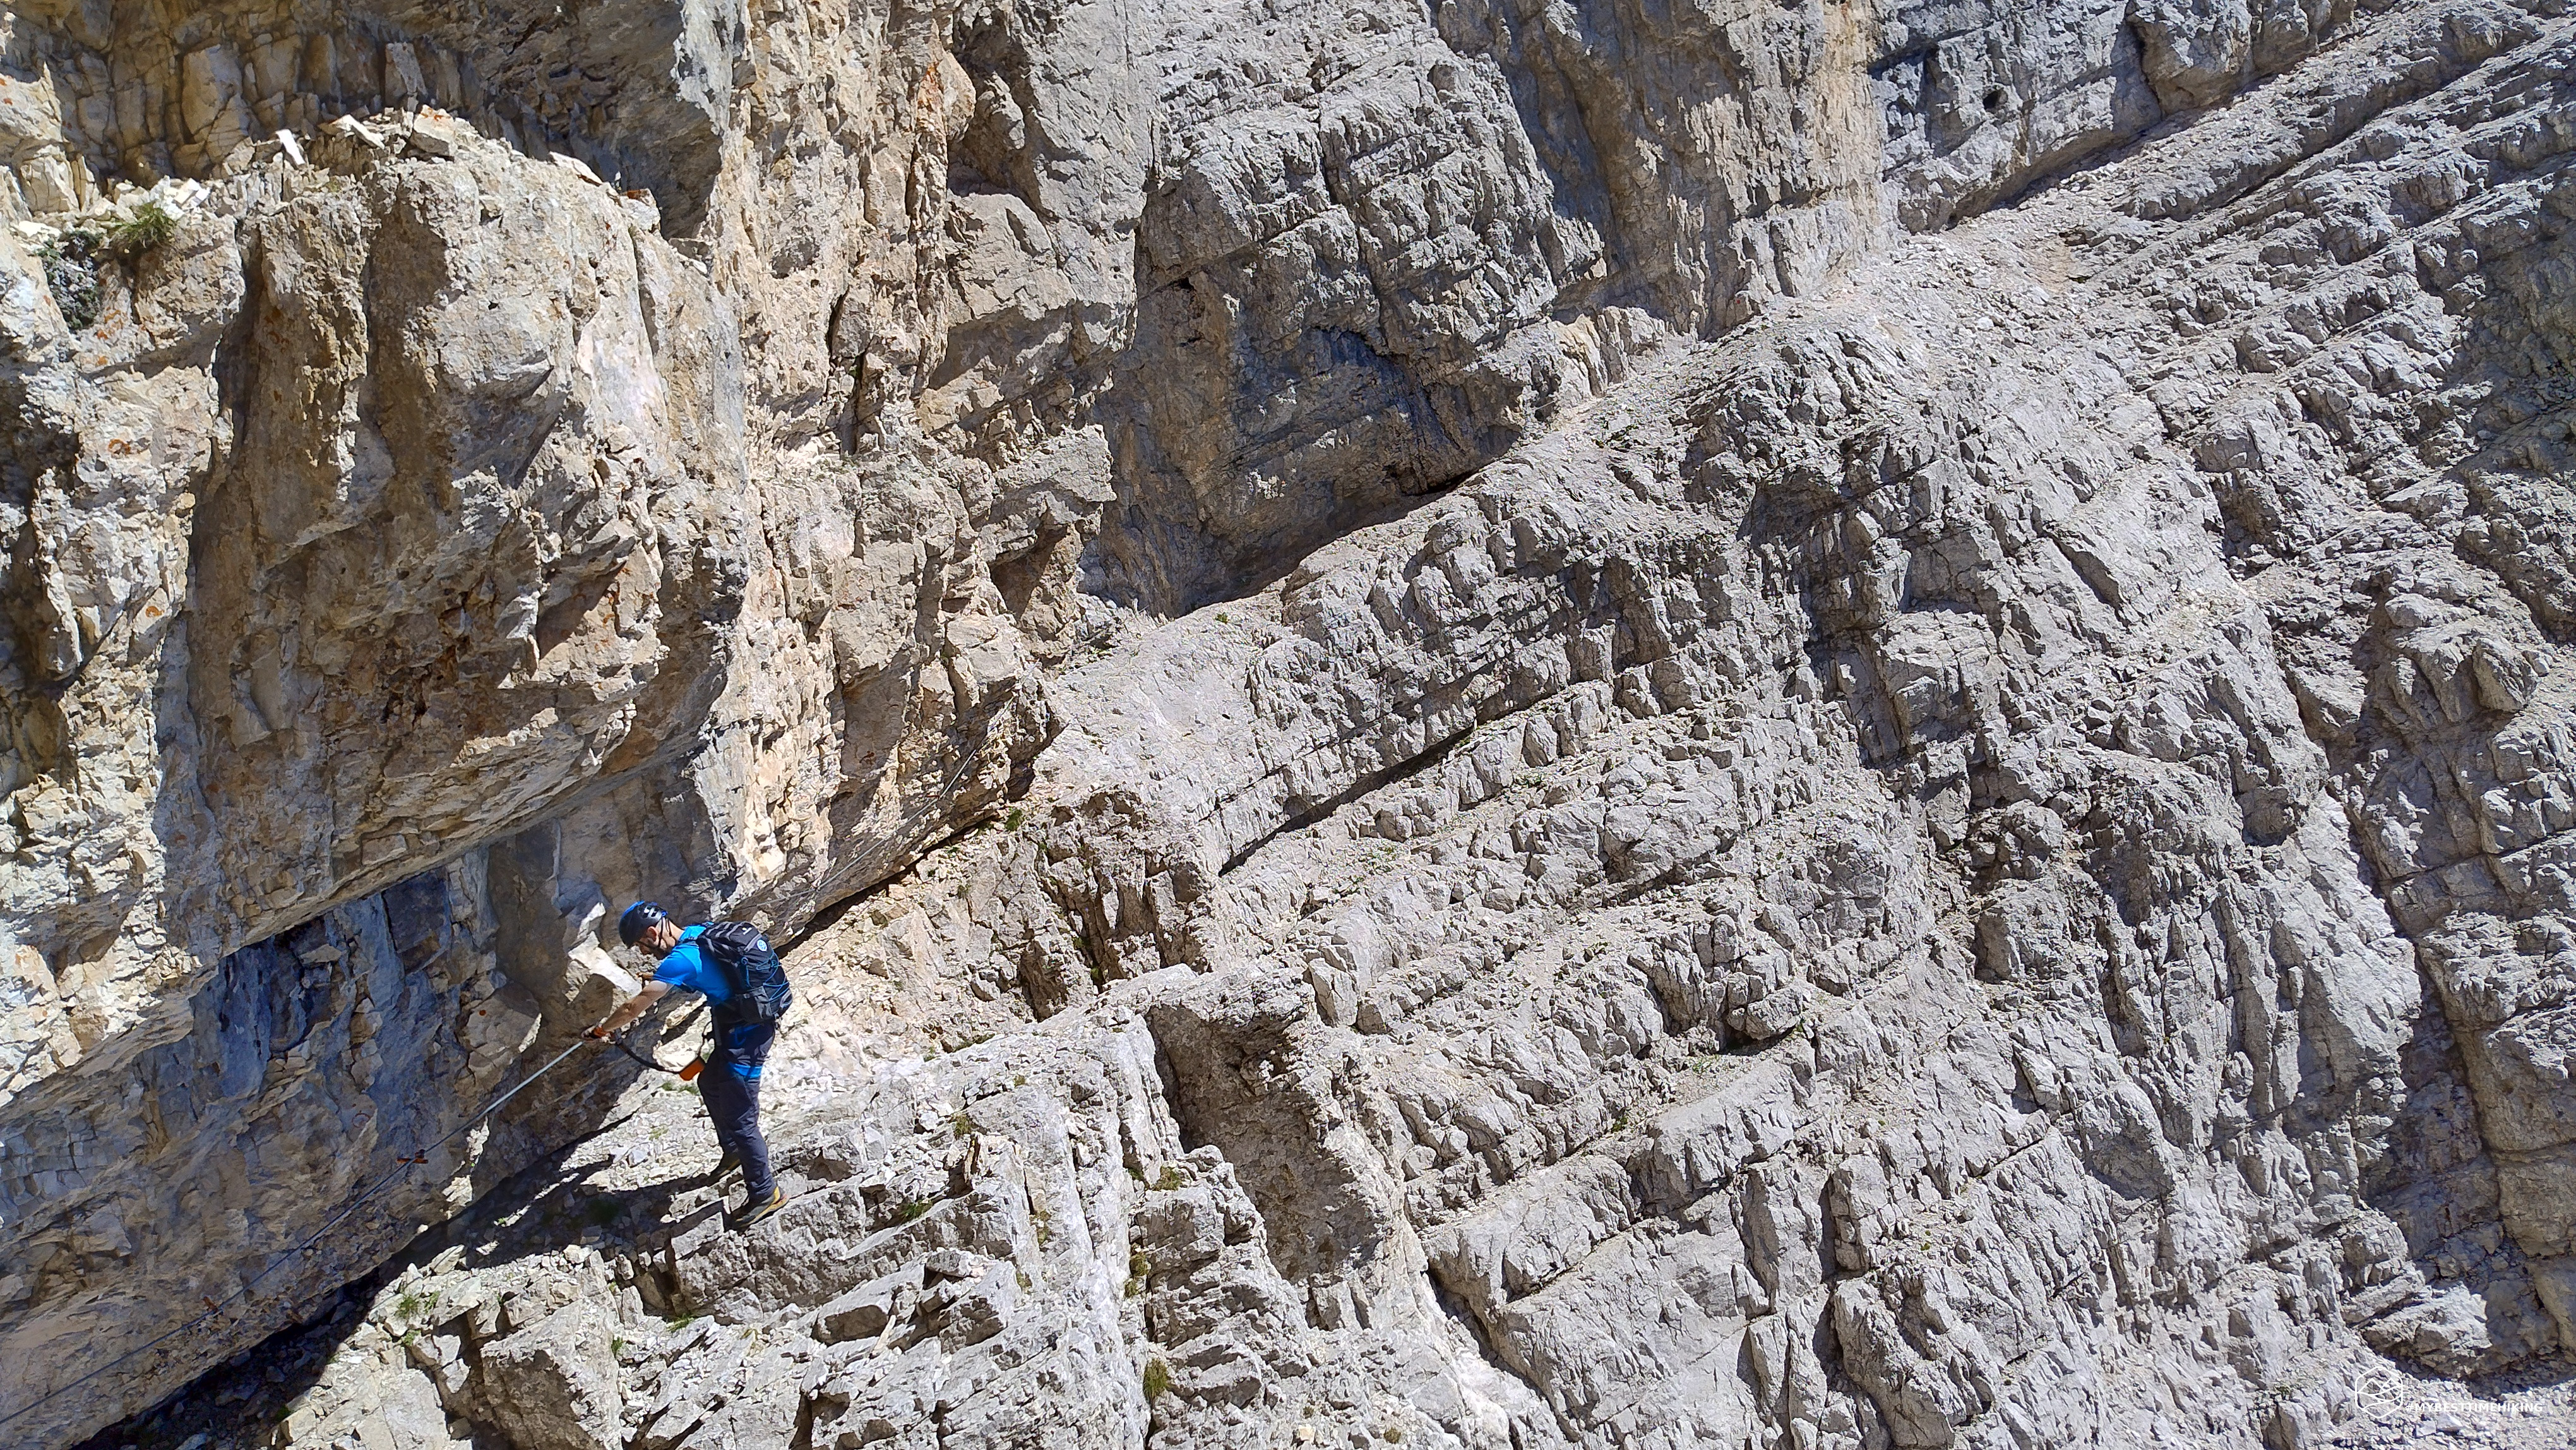
The route immediately begins with a beautiful traverse. The first 50 meters run diagonally to the left, along a wall where holds are few and small, and every step must be taken carefully. Climb this diagonal line until you reach a vertical dihedral, which you tackle decisively before exiting with considerable exposure and continuing the traverse. In this first section of the via ferrata, it's crucial to manage your energy: finding every little foothold is key to lightening the load on your arms, especially given the longer sections that lie ahead.
After the traverse, you reach a very narrow ledge, where the exposure is noticeable. Continue left, traversing a varied and never boring section: short, sloping slabs alternate with small vertical drops (with some grade I sections) and ledges, until you reach an area of easy rock, where the terrain becomes more pleasant (1 hour 30 m from the start).
Continuing left, you reach a section well marked by a yellowish wall and a prominent red marker: this is where the traverse begins, considered the crux of the entire route. The route follows a diagonal leftward along a smooth rock slab, but despite its initially daunting appearance, some well-placed footholds make the passage easier than expected. The traverse is negotiated decisively and without too much difficulty, and shortly afterward you'll come across two metal rungs where, if desired, you can take a short rest before tackling the next section, which continues to climb vertically along the second half of the route.
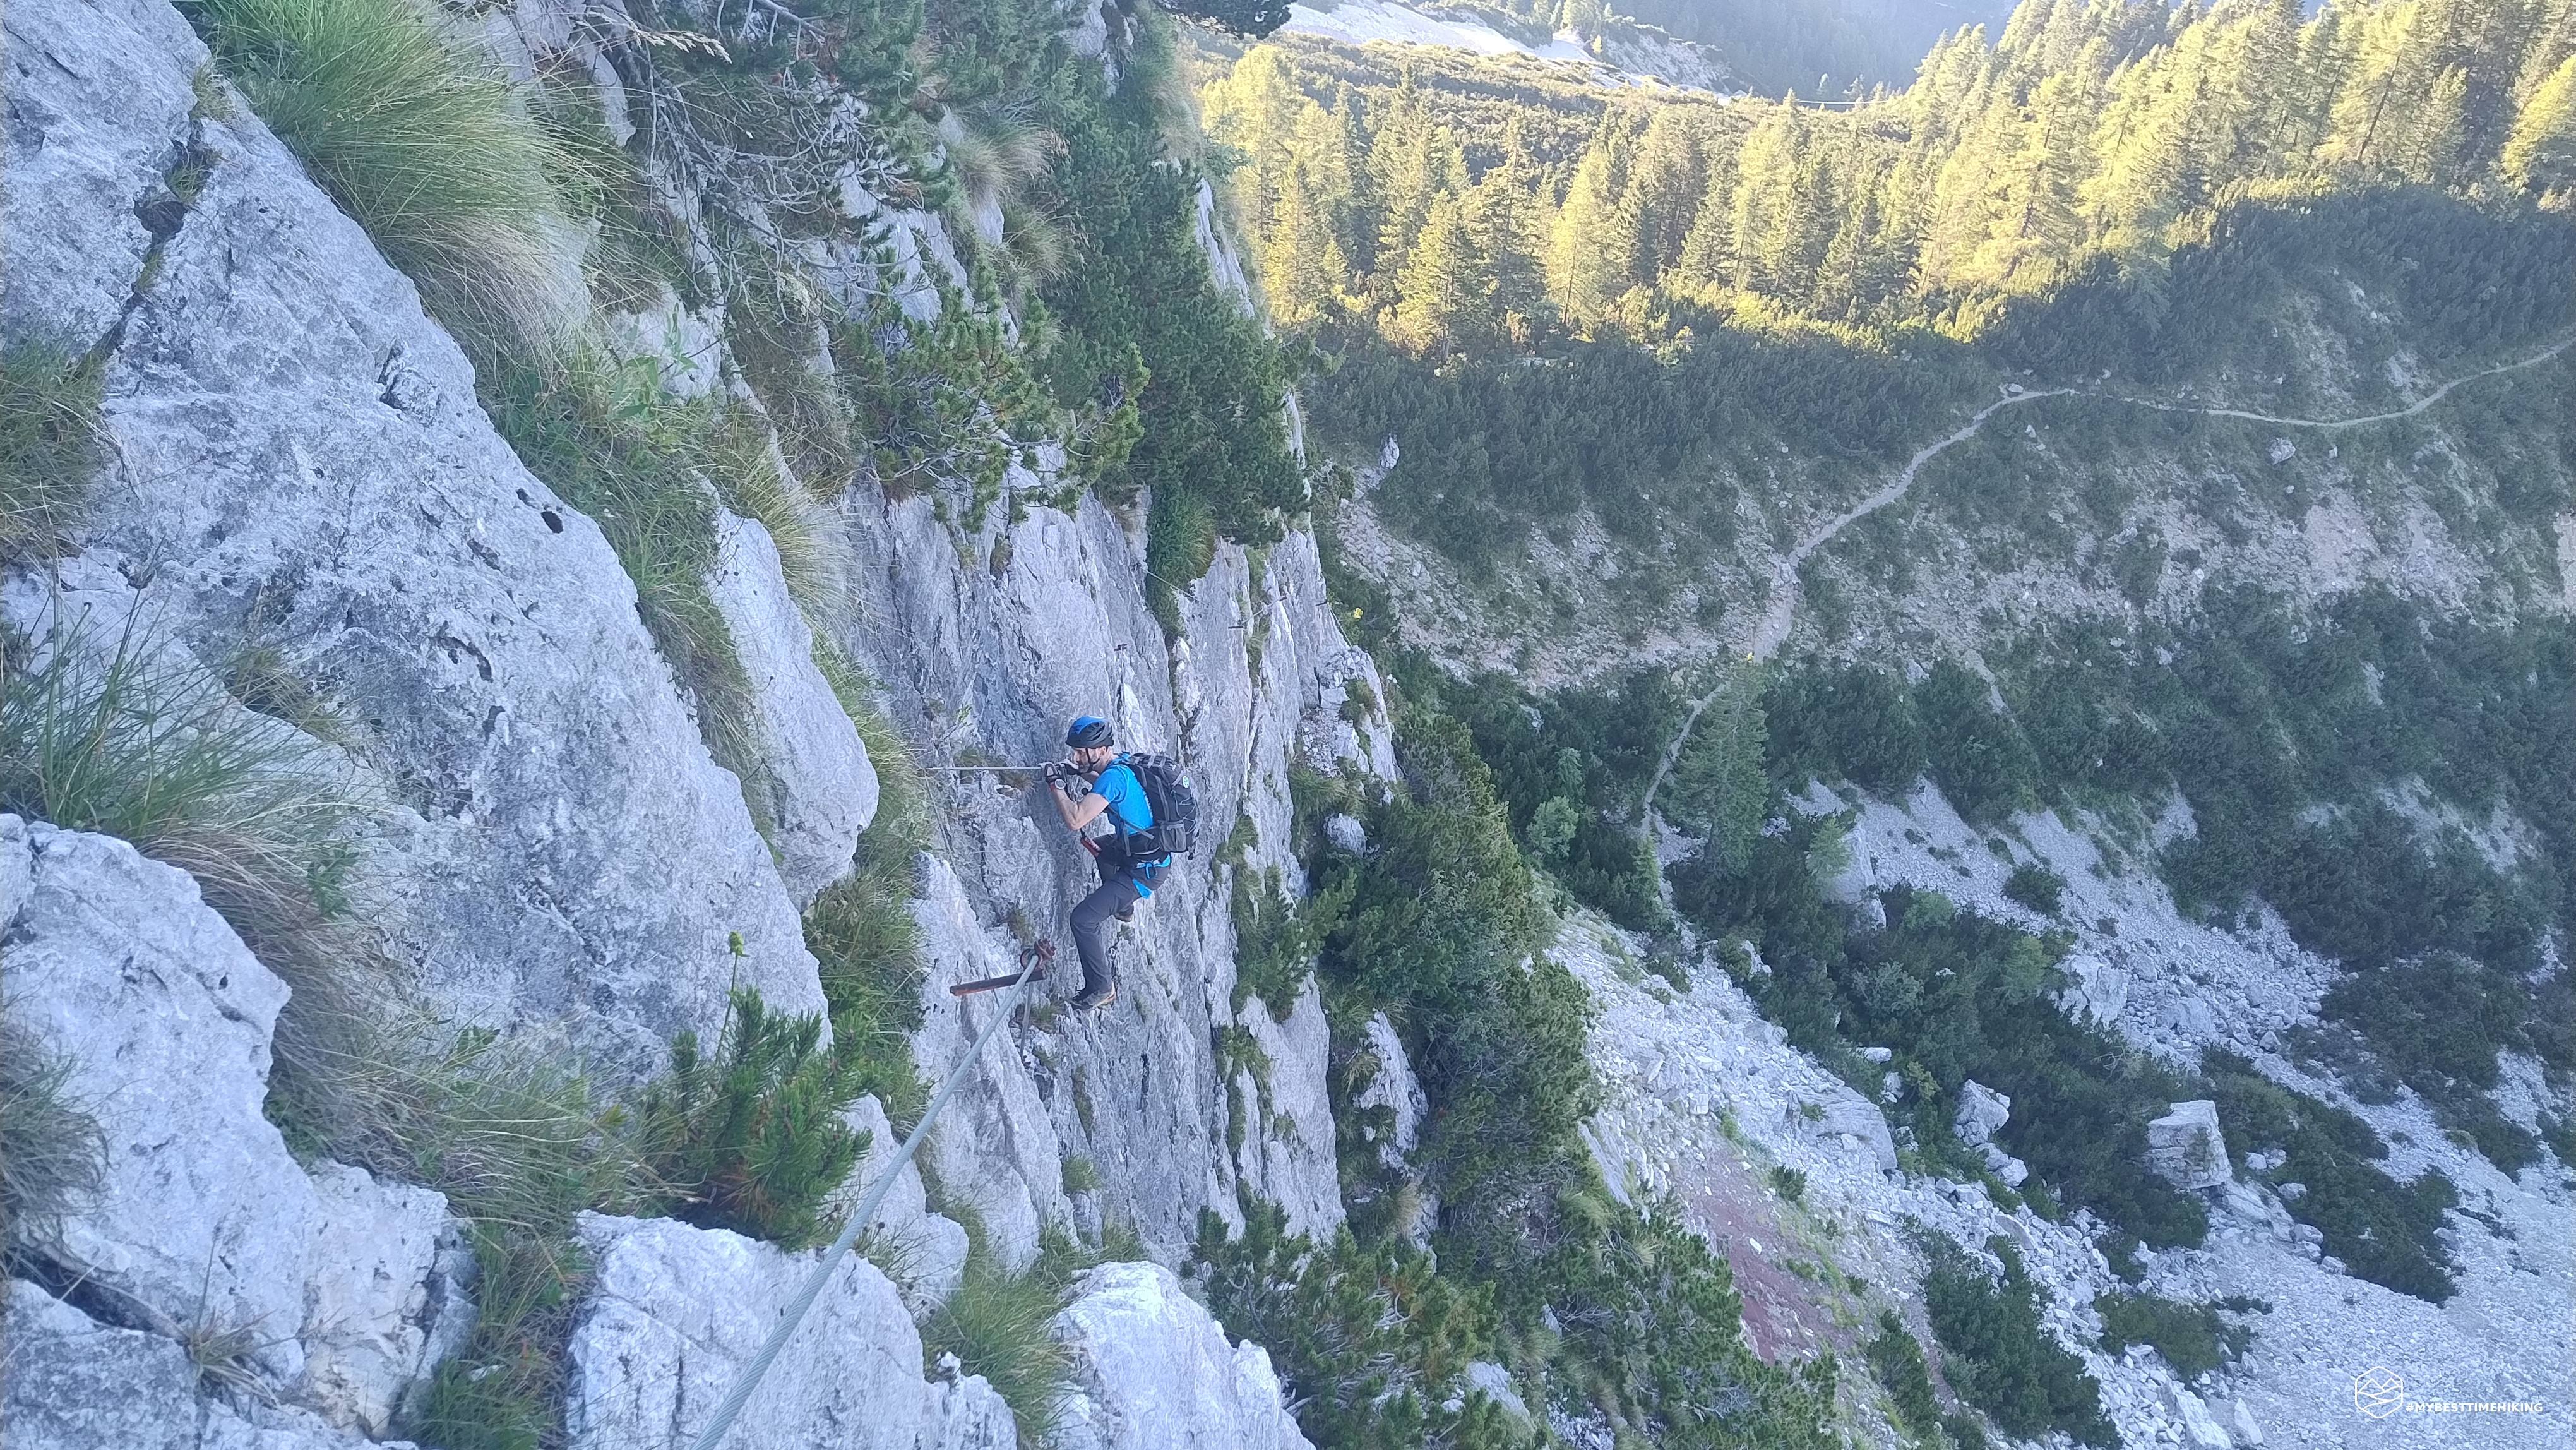
In this section, the via ferrata changes direction significantly and immediately becomes more vertical, decisively tackling a smooth and imposing wall that extends for about 60 meters. You ascend thanks to a sequence of well-placed rungs and stirrups, but the exposure is particularly noticeable in the first 20 meters: the void beneath your feet is tangible, and your heart beats a little faster. Then the line bends slightly to the right and the rock finally becomes more articulated, offering natural steps that aid progression.
A few more vertical meters, a decisive leap to cross a narrow, suspended gorge, and then some final rocks await us, leading us to a more tranquil section. The terrain becomes gentler, and we soon reach Pala del Belia (2,295 m), identifiable by a small metal plaque. We arrive here about two hours after starting the route.
We continue the climb with a new section of the route that immediately opens up with an exposed traverse to the left. The initial wall offers decent holds, but the exposure takes its toll: the void opens up beneath our feet, and progress requires attention and composure. We turn left again, entering a picturesque gully nestled between two vertical walls that seem to close above us.
Here the route changes tone: the climb becomes easier, devoid of technical difficulties, and unfolds over a long series of leaning rocks. The rock, well-cut and solid, offers generous handholds, and the ever-present wire rope allows us to advance without overloading our arms.
After steady progression, we encounter a steeper vertical section: a rocky drop of about 6-8 meters forces us to change pace. Two strategic rungs facilitate the ascent of this more athletic section, which is overcome with a few good leg movements.
After overcoming the drop, we temporarily leave the equipped section and continue along an unprotected ledge that cuts to the right, offering increasingly wider and more spectacular views. Be careful because in some sections the ledge is thin, and the open setting could be destabilizing. It's inexplicable why there isn't even a single cable, even a loose one, to provide safety during progression.
The mountain opens up and the climb resumes, first with a vertical wall full of good holds, then with a well-worked slab, where hands and feet easily find their place on easy rocks and a few grade I moves.
We cross a first ledge, then tackle a new series of rocky ledges, never too difficult but continuous, until we reach a second ledge, this time decidedly more exposed. Scrambling here is really fun, we have to admit!
The final section now opens up above us: a chimney that's not particularly difficult but evocative, which we ascend with calm and precision. A few more meters and we finally reach Cima Cattedrale (2,557 m), reached after about 3.5 hours from the start. The view here is breathtaking, and this time it's not just due to the effort.
We set off again, following the red arrow painted on the wall, which guides us left. We overcome a first rocky ledge and continue along the trail, from which we can already make out the route that will lead us to the ridge.
The route continues along a series of sloping ledges and short rocky steps, never too complex. The only exception is a drop of about 6 meters, where the smooth rock requires caution and a few more decisive moves. After this section, we move onto a short ledge to the left and find ourselves at the base of a vertical wall of about 15 meters (grade I): more challenging than the sections we've just climbed, but less arduous than the cruxes we encountered previously. This wall is essentially a thin blade dividing two chasms that, fortunately, are invisible during the ascent. Easy holds allow us to easily negotiate this wall, and at the end, you'll feel pleasantly satisfied!
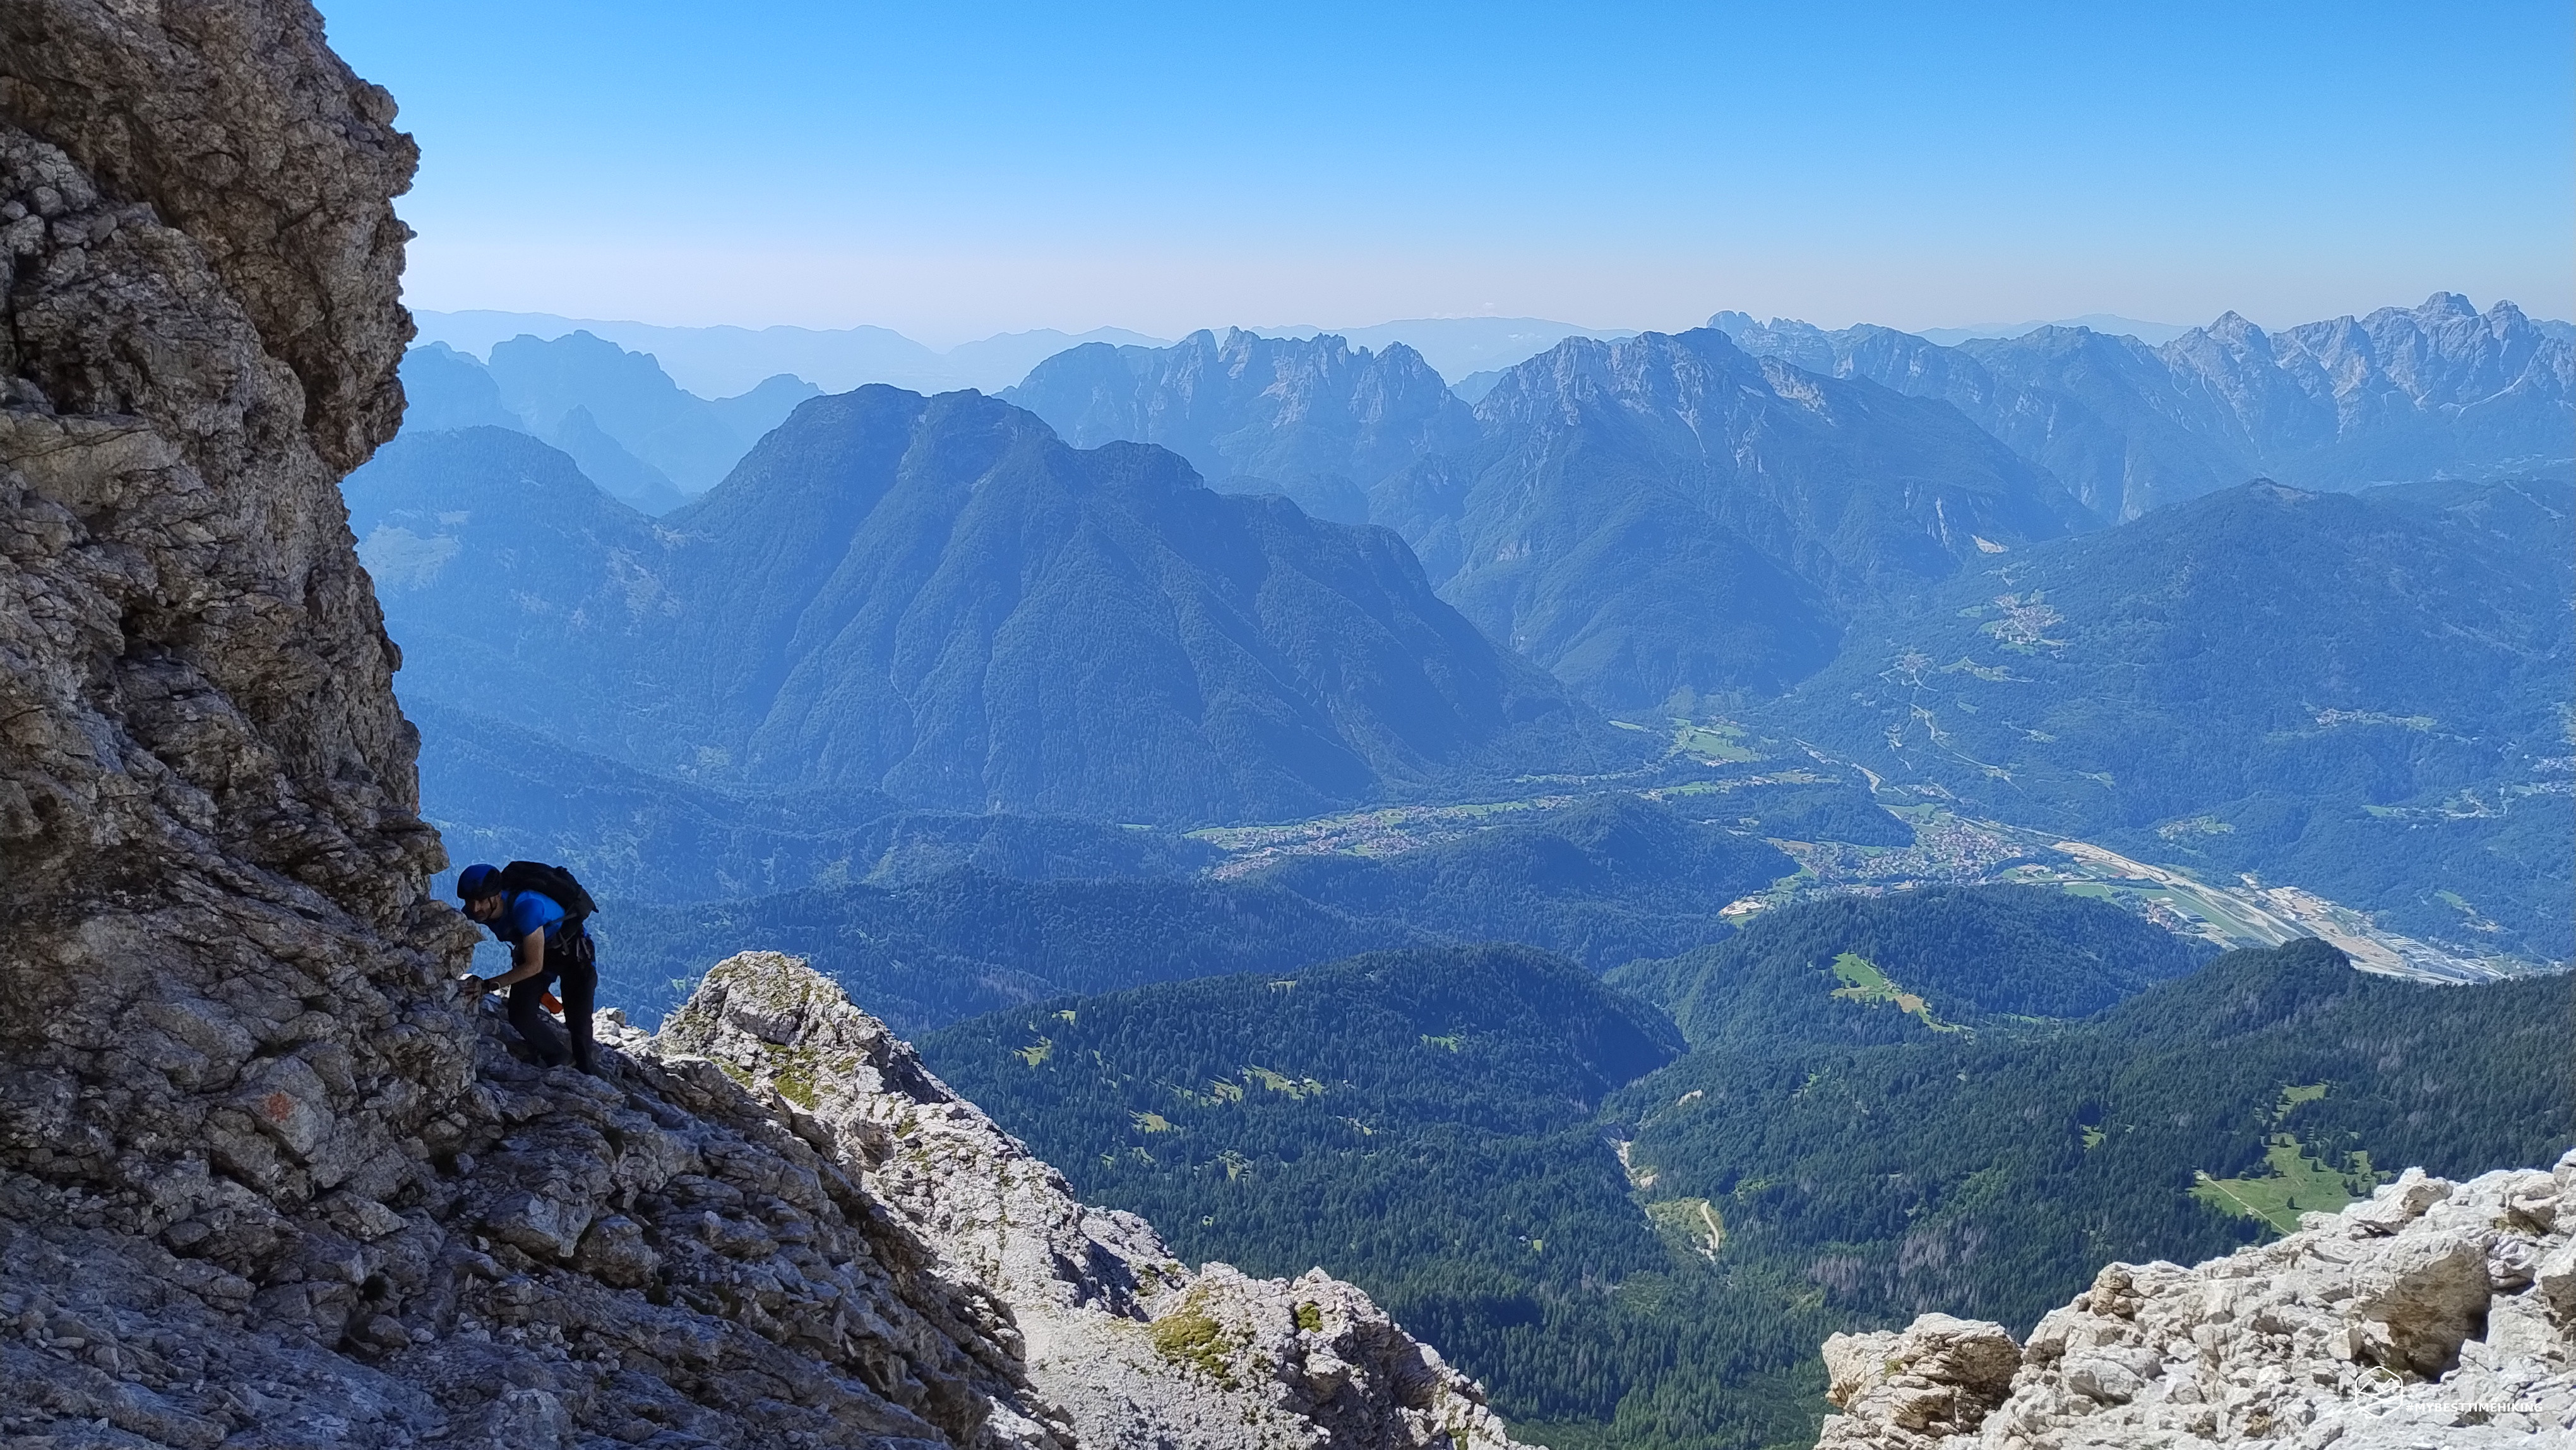
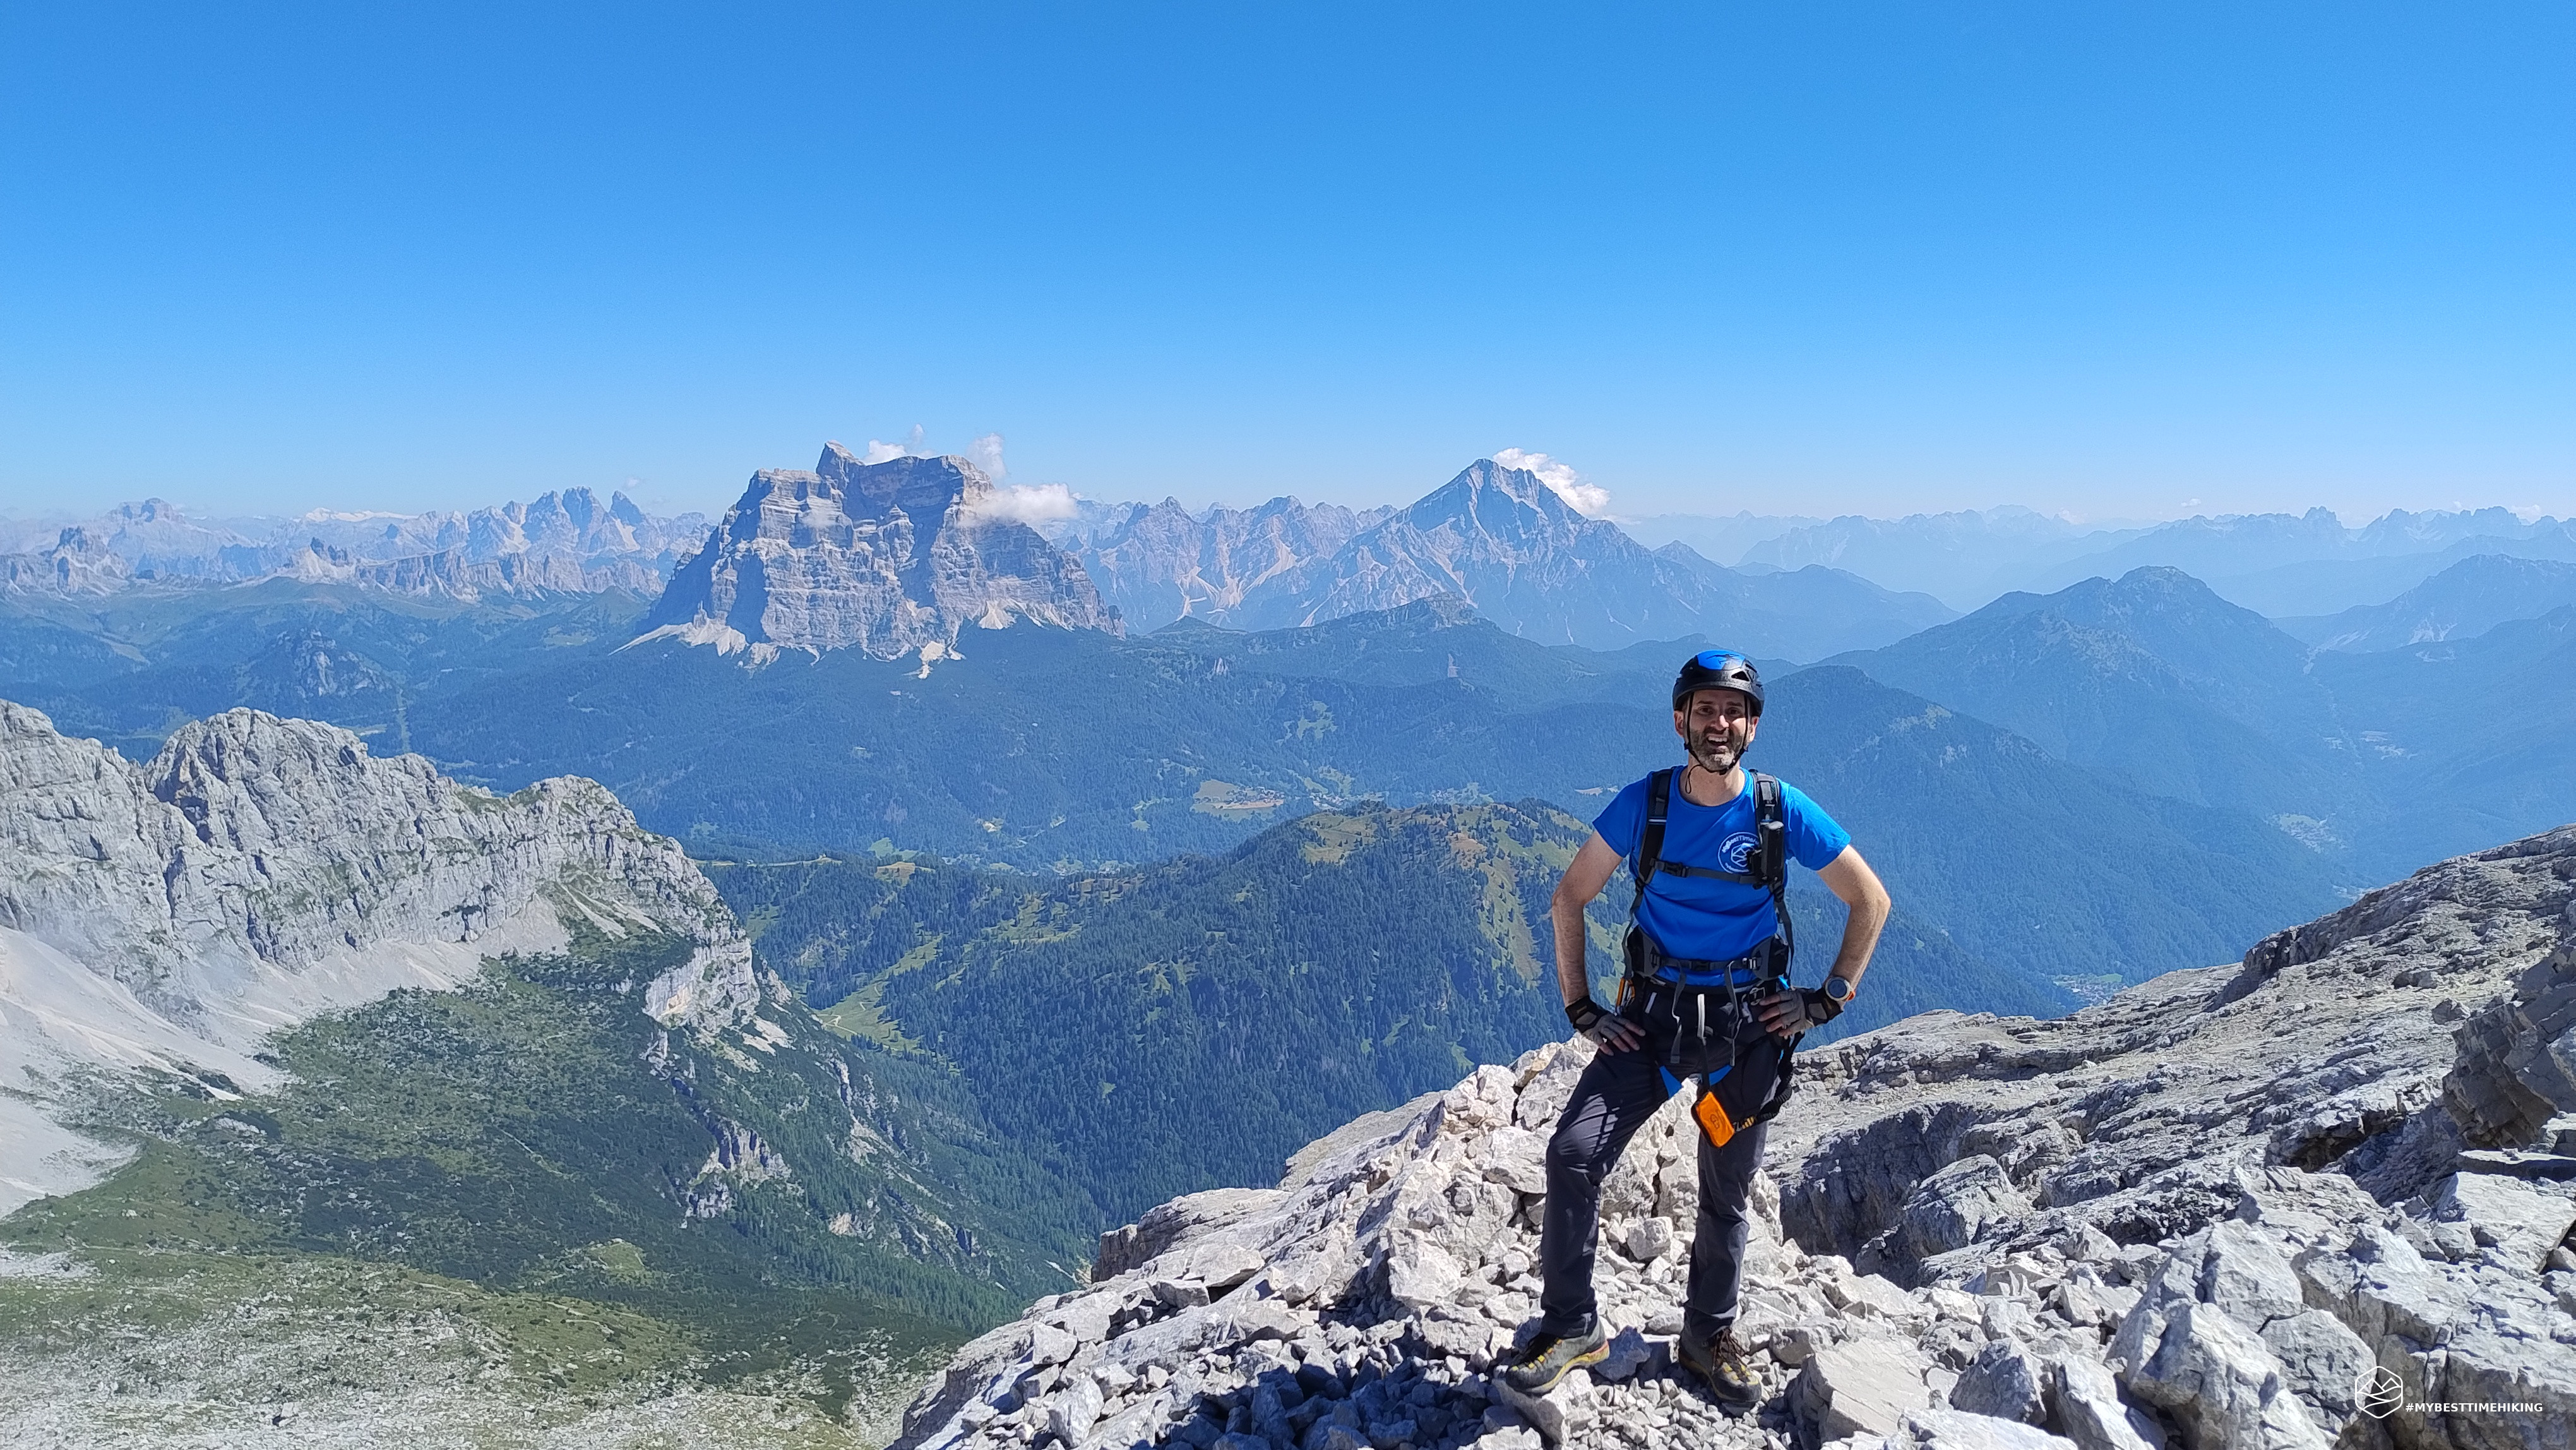
With a final effort, we climb up the loose rocks—be careful, they're smooth in the final section—that lead us to the long-awaited Cresta delle Masenade. Straight ahead of us, in all its grandeur, stands the summit of Moiazza Sud, now close. About four hours have passed since the start, and the adrenaline is beginning to give way to the excitement of the conquest. An exceptional skyline unfolds before us, with the majestic King of the Dolomites, Mount Antelao, and Mount Pelmo, the Caregon of the Eternal Father, stealing the show from Mount Cristallo and Mount Croda Rossa d'Ampezzo, all the way to the Friulian peaks, including the unmistakable Duranno.
After a well-deserved break to admire the magnificent panorama surrounding us, we're ready to tackle the next section of the route, which is completely different from anything we've tackled so far. With the summit of Mount Moiazza Sud clearly visible before us, we begin climbing the Cresta delle Masenade, alternating between easy, panoramic sections and more technical and challenging ones. There are metal cables in some places, but most of the route is unsecured.
There are a couple of rather exposed downhill sections that allow you to overcome unprotected rock blocks perched on the overhanging ridge. An iron peg embedded in the larger rock allows for a safe descent from a grade I section. This segment, in my opinion, is the most dangerous of the route and requires concentration and well-controlled movements. This section takes us to the Forcella delle Masenade (2,650 m), marked by a metal plaque and representing a crucial point of the route.
Here, there is also a deviation to the right, which allows you to reach the Grisetti Bivouac, an escape route to interrupt the route.
After the fork, we follow the usual arrows and red markers, and the route becomes less exposed. We leave the ridge and begin to cut across a long series of sloping slabs, which guide us towards the slopes of Moiazza Sud. The route is well marked and offers a more fluid pace, while still maintaining some technical sections.
Finally, we reach a gently descending via ferrata ledge that leads us to the base of the last vertical section of the route. We are now about 4 hours and 45 minutes from the start, ready to tackle the final stretch towards the summit.
Date
08-08-2025
Distance
13.89 KM
Hike type
Ferrata
Ascent
1450 mt
- Mountain
Gruppo del Moiazza
- Address
Passo Duran, Veneto
- Altitude
2755.00 m
- Refuges
Rifugio Carestiato
- Information
After the slightly descending ledge, the cable picks up again and turns sharply vertical, following the dark, yellowish walls that appear before us. We immediately tackle a first vertical leap, then the line shifts diagonally to the right, climbing a series of rocky steps. The progression is continuous and never dull.
We soon return to vertical climbing, this time inside a stepped gully, where the sections become closer together but remain manageable. The rock is solid. After a few final sections, never particularly difficult, we reach the point where the equipped section ends.
From here on, we rely on the red markers, which guide us along a slope to the left, towards a new section of ridge that marks the final part of the climb. The terrain becomes more open, but still requires caution: we cross a scree slope and find ourselves at a crucial fork.
A clear sign on the rock indicates that to the right you climb to the summit of Moiazza Sud; to the left, however, you can bypass the summit along the evocative and airy Cengia Angelini (5h 15m from the start).
Obviously, we continue toward the summit, and here, in my opinion, lies the real crux of the via ferrata. Especially the first segment of the via ferrata ahead: smooth rock with no footholds or handholds forces rapid progression to change carabiners and proceed to the second segment. This is also difficult for Marco, who manages to get past the critical point and wedge himself into the small canal that leads to the upper ridge. I try to emulate him, but my arms are starting to strain. The smooth rock with no footholds prevents me from placing any weight on my legs, and I'm forced to make an effort I can't sustain at this point in the adventure. I grasp the moment and try to turn back to regain some strength, but my right hand loses control of the cable, sending me crashing to the ground, fortunately from a couple of meters. I find myself on the ground, unharmed, but exhausted and mentally drained. I let Marco proceed toward the summit, and I remain with my thoughts, yearning for another attempt. At the edge of the via ferrata, I see a narrow path leading to some rocks (grade II-III) that would allow me to overcome the first section of the cable and find myself directly in the final gully. The section is unprotected and juts out into the void below… When my mind finished formulating this possibility, I realized I had to give up the summit, conserve my strength for the descent, and postpone the summit of the Moiazza to a time when I'm more trained and alert.
I'm happy to have reached this point; I'm just sorry there wasn't a bolt or even some faint studs on the rock to give me more grip. Those would have been essential for this section of the route, but, as mentioned, a new adventure will be needed to complete the tour, including the summit. I enjoy the magnificent view before me and wait for Marco, who has managed to reach the summit after the last few simple, but never trivial, ridges.
The descent now begins. We follow the red markers that guide us left, towards the famous Cengia Angelini. After a few minutes, we come across a sign marking the start of the equipped section: a short section of wire rope, useful more as a reference than as a real aid.
The ledge begins wide and relatively comfortable, allowing us to bypass the west face of the Moiazza Sud. The route, though technically simple, is almost entirely devoid of protection: the vastness of the environment and the constant exposure require attention and a sure footing.
After skirting a rocky ledge, the ledge narrows, but fortunately, it's once again equipped in the most delicate spots. We continue along exposed sections, overcoming some sharp edges, while the trail slowly begins to lose altitude.
In some places, the ground becomes more treacherous: smooth rocks covered with loose scree make walking uncertain, and in several sections, one wonders why at least a metal cable, even a loose one, wasn't installed, given the severe exposure and narrowness of the trail. Maximum concentration is required: there's no room for error here.
Finally, before completing the ledge and entering the final scree slope, one last obstacle awaits us: a short downclimb on a rock block about 2-3 meters high (grade I). This section, while not difficult, requires caution, especially after the long, exposed section we just surmounted.
We continue our descent, following the trail that leads us to the Ghedini Bivouac (2,600 m), located just below the Forcella delle Nevere, in a secluded and picturesque valley.
We find ourselves descending on a rather unstable scree slope, where it's important to carefully evaluate every step.
After about 1.5 hours from the junction between the Cengia Angelini and the summit, we finally reach the Ghedini Bivouac. It's small but clearly visible, making it an ideal rest stop before tackling the long descent into the valley. Before us lies the splendid view of the entire Civetta massif.
After a brief but refreshing stop at the Ghedini Bivouac, we resume our journey, beginning the long descent into the valley. In front of us, at the bottom of the gully, the valley we'll be reaching opens up: the finish line is visible, but still far away.
Shortly after the start, we encounter a first section equipped with a wire rope, useful for safely descending a few meters. From here, the trail briefly climbs to the right, a counter-slope section that requires a bit more energy before the real descent begins.
From this point on, the descent begins: a mix of technical sections, short sections of trail, and rocky outcrops (grade I) that require caution and surefootedness. The terrain is varied and never completely banal.
As we gradually lose altitude, we encounter some equipped sections, not particularly long but not to be underestimated, as well as smooth slabs that can become treacherous in wet conditions. The pace is interrupted by constant changes in terrain, including a 3-meter downclimb (grade II) at the final section of the descent. With patience and caution, we descend to the final section of the scree slope.
Finally, the first pines and trees appear, indicating that the most difficult section is behind us. Shortly afterward, we cross CAI trail 554, which marks the end of the equipped sections and the main difficulties of this long and challenging itinerary.
From the bivouac to trail 554, it takes about 2 hours and 15 minutes. In total, from the start, we're 9 hours into the actual hike and about 10 hours overall, not including breaks.
The rest of the route is a long hike to the Bruto Carestiato refuge, which I further suffered from the complete lack of water. Once we reached the refuge, having quenched my extreme thirst, we continued to the Duran pass as the day was drawing to a close. In the end, the entire loop took 11 hours and 45 minutes to complete, and 13 hours including breaks! An epic adventure, one that has few equals in my personal diary.
Thus we conclude an extraordinary adventure, immersed in one of the most majestic and harsh environments in the Dolomites. A long, technical, exposed, and never banal itinerary, it offers grandiose views and breathtaking passages, but it requires clarity of mind, mental strength, and physical endurance from start to finish.
The maintenance is impeccable: the cables are all in place and perfectly taut, a sign of the care and respect this route deserves. But it's essential to understand that this is not a traditional via ferrata, where you rely on a continuous cable for the entire route. Instead, it's a great mountain route, to be tackled with a mountaineering spirit, spanning over 10 hours of total walking, including challenging climbs, exposed sections, and a long, technical descent.
The cable is only present where truly necessary, in the most delicate or exposed sections. For everything else, you have to tackle hundreds of grade I sections, and there are also a few grade II sections, which must be overcome even when you're feeling tired.
One final important note concerns the three key sections I mentioned above, all traverses on smooth, polished rock, where the only way to proceed is by gripping the cable, with your body pulled on the cable. The first two have been made somewhat easier: one with a few small notches for the toes of your boots, the other with a pair of providential rungs. But the third route, the one near the fork to the summit, wasn't made any easier. It's smooth, slippery... and requires a downhill climb. It was right there, after hours of relentless effort, that I decided to give up on the summit.
This is a route for expert hikers, highly trained, and with extensive experience in extremely exposed and wild environments. But for those with the necessary preparation, determination, and respect, the Cresta delle Masenade, the Moiazza Sud, the Cengia Angelini, and, more generally, the Costantini via ferrata, offer an unforgettable experience, among the most beautiful and challenging in the Dolomites.
Click here and watch the exclusive video on YouTube for an even more immersive experience!
DifficultyExpert Hikers with Equipment - The equipped routes (or via ferrata) are indicated, they require the use of self-insurance devices. |